

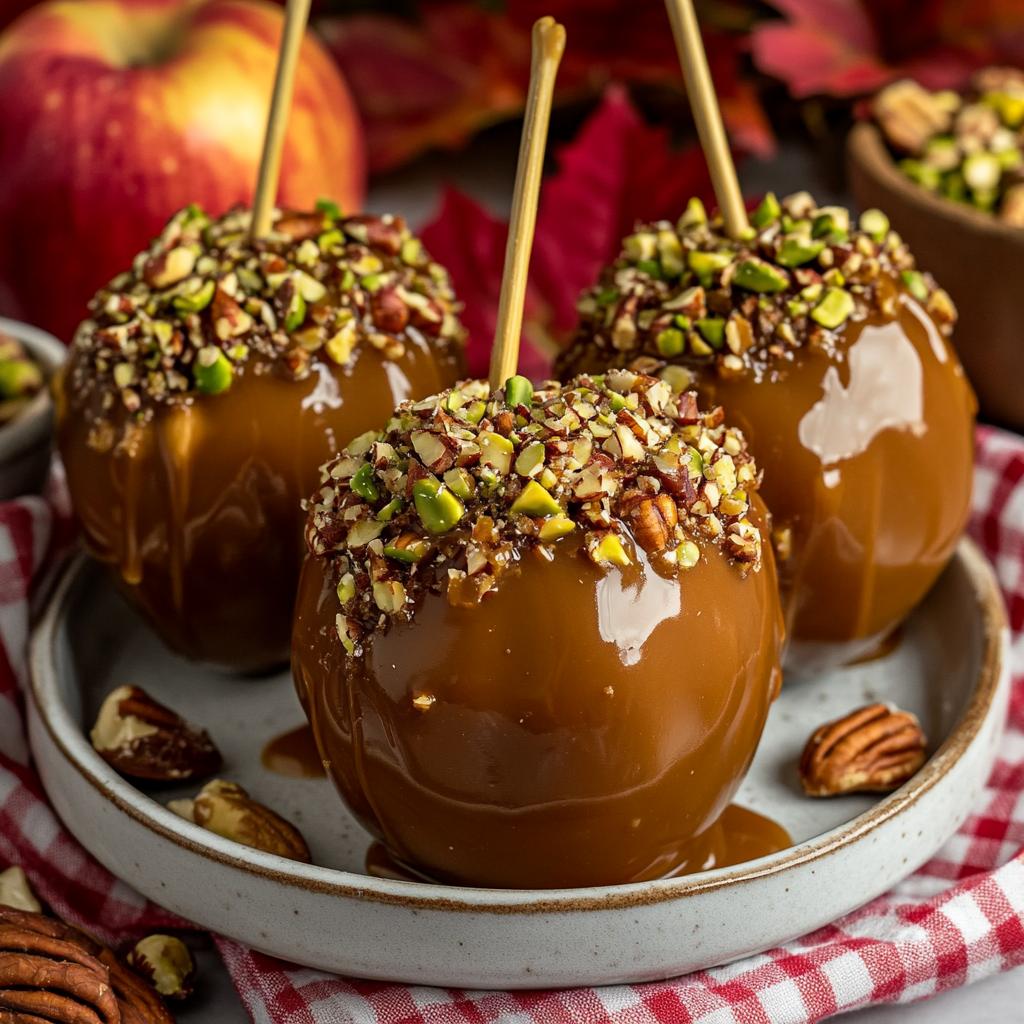
The Best Homemade Caramel Apples are a timeless dessert that perfectly combines the crisp freshness of apples with the rich, buttery sweetness of homemade caramel. This iconic treat is especially popular during the fall season, Halloween, county fairs, and holiday celebrations, but it’s delicious enough to enjoy all year round. Every bite offers a satisfying contrast between juicy fruit and chewy caramel, making it a favorite for both children and adults.One of the best things about homemade Caramel Apples is how customizable they are. After coating the apples in silky caramel, you can decorate them with chopped nuts, crushed cookies, sprinkles, mini candies, coconut flakes, or melted chocolate.
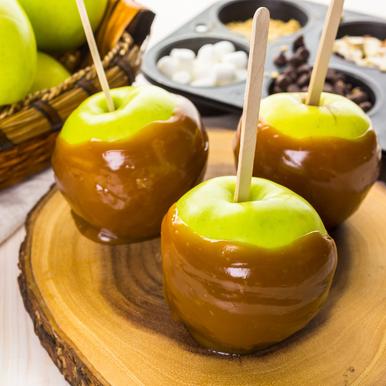
Caramel Apples:
These creative toppings transform a simple dessert into a gourmet masterpiece that’s perfect for gifts, parties, and special occasions.Despite their elegant appearance, Caramel Apples are surprisingly easy to make at home. With a handful of ingredients and a little patience, you can create bakery-quality treats that look as beautiful as they taste. Whether you’re hosting a fall festival, celebrating Halloween, or simply craving a nostalgic dessert, this recipe delivers flawless results every time.
History:
Caramel Apples became popular in the United States during the 1950s when Kraft Foods employee Dan Walker experimented with leftover caramel candies by melting them and coating fresh apples. The idea quickly gained popularity, and Caramel Apples soon became a beloved autumn tradition.
Today, Caramel Apples are enjoyed around the world in countless variations. Gourmet versions feature premium chocolate, crushed candies, pretzels, cookies, sea salt, and artisan caramel, making them one of the most versatile seasonal desserts available.
Subscribe to our youtube channel Kitchenpedia for more delicious recipes and hit the like button if you enjoyed this youtubevideo. Share it with your friends and Family.
The Best Homemade Caramel Apples Recipe – Sweet, Crisp, and Perfectly Coated

Ingredients
For the Caramel
- 1 cup granulated sugar
- ½ cup light brown sugar
- ½ cup unsalted butter
- ½ cup heavy cream
- ¼ cup light corn syrup
- 1 teaspoon vanilla extract
- ¼ teaspoon salt
For the Apples
- 8 medium Granny Smith apples (or Honeycrisp apples)
- 8 wooden sticks
Optional Toppings
- Chopped roasted peanuts
- Chopped pecans or walnuts
- Mini chocolate chips
- Crushed cookies
- Crushed pretzels
- Colorful sprinkles
- Melted dark, milk, or white chocolate
- Flaky sea salt
Instructions
- Wash the apples thoroughly to remove any wax coating. Dry them completely and insert a wooden stick into the stem end of each apple.
- Line a baking tray or plate with parchment paper and lightly grease it with butter or nonstick spray.
- In a heavy-bottomed saucepan, combine the granulated sugar, brown sugar, butter, heavy cream, corn syrup, and salt.
- Cook over medium heat, stirring continuously until the mixture reaches 245°F (118°C) using a candy thermometer (firm-ball stage).
- Remove from the heat and stir in the vanilla extract.
- Allow the caramel to cool for about 3–5 minutes, until it thickens slightly but remains pourable.
- Hold each apple by the stick and dip it into the caramel, turning slowly to coat evenly. Let the excess caramel drip off.
- Place the apples on the prepared parchment paper and allow them to cool completely until the caramel sets.
- For an extra-special finish, drizzle with melted chocolate and let it harden before serving.
Notes
- Granny Smith apples provide the perfect tart contrast to sweet caramel.
- Removing the wax coating helps the caramel stick properly.
- A candy thermometer ensures the caramel reaches the correct consistency.
- Let the caramel cool slightly before dipping the apples.
- Work quickly before the caramel begins to harden.
- Add toppings immediately after dipping.
- Refrigerate for faster setting if needed.
- Store in the refrigerator for up to five days.
Tips for Caramel Apples:
- Chill the apples before dipping to help the caramel set faster.
- Dry the apples thoroughly to prevent the caramel from slipping.
- Twist the apple while dipping for a smooth, even coating.
- Use premium vanilla extract for richer flavor.
- Sprinkle flaky sea salt for a gourmet salted caramel version.
- Package individually in cellophane bags for gifts.
- Slice the apples before serving for easier eating.
- Experiment with white chocolate or dark chocolate drizzles for a decorative finish.
FAQs for Caramel Apples:
1. Why won’t the caramel stick to my apples?
Apples are often coated with food-grade wax. Wash them with hot water and gently scrub to remove the wax, then dry thoroughly before dipping.
2. Which apples are best for Caramel Apples?
Granny Smith, Honeycrisp, Fuji, Gala, and Pink Lady apples all work well, with Granny Smith being the most popular because of its tart flavor.
3. Can I make Caramel Apples ahead of time?
Yes. Prepare them up to three days in advance and store them in the refrigerator.
4. Can I freeze Caramel Apples?
Freezing is not recommended, as it can affect the texture of both the caramel and the apples.
5. Can I use store-bought caramel candies?
Yes. Melted caramel candies with a splash of cream make a quick and convenient alternative.
6. How do I keep the caramel soft?
Cook the caramel only to the firm-ball stage (245°F/118°C) and avoid overcooking.
7. What toppings work best?
Chopped nuts, crushed cookies, pretzels, sprinkles, coconut flakes, mini candies, chocolate chips, and sea salt are all excellent choices.
8. How should I store Caramel Apples?
Wrap each apple individually and refrigerate for up to five days. Allow them to sit at room temperature for about 10–15 minutes before serving for the best texture.
Conclusion:
Homemade Caramel Apples are a delightful combination of crisp fruit, rich buttery caramel, and endless topping possibilities. Whether enjoyed as a classic autumn treat or transformed into gourmet desserts with chocolate and nuts, they are always a crowd-pleaser. Easy to prepare and beautiful to present, these Caramel Apples are perfect for family gatherings, Halloween parties, holiday gifts, and seasonal celebrations. With this recipe, you’ll create delicious, bakery-quality treats that everyone will love.