

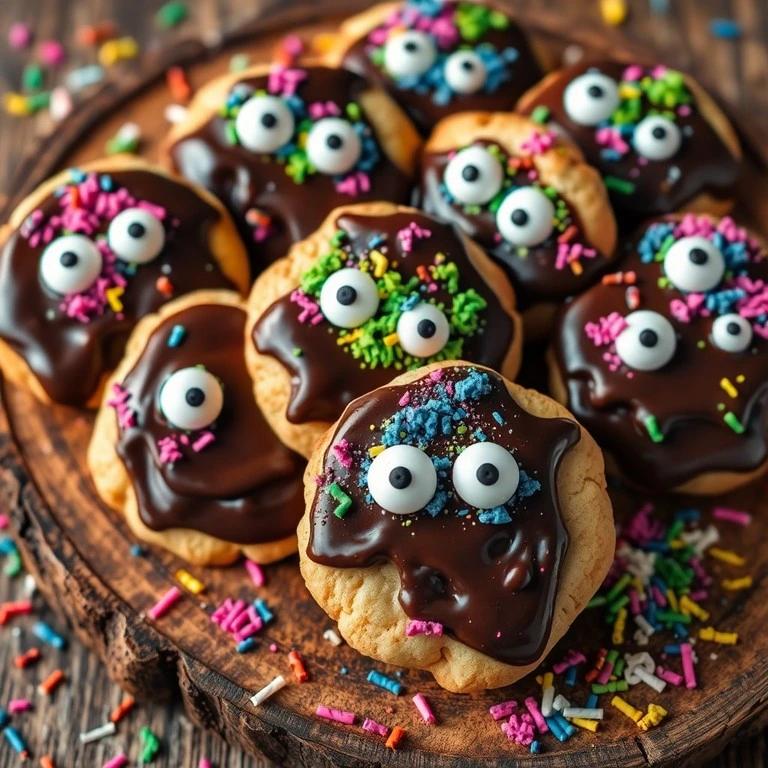
Monster Bites are fun, colorful, and delightfully spooky treats that bring a playful twist to Halloween celebrations. Decorated with candy eyes, chocolate details, and bright monster-inspired colors, these bite-sized goodies are perfect for Halloween parties, school celebrations, movie nights, and family gatherings. Their whimsical appearance makes them especially appealing to children, while their sweet flavors and crunchy or chewy textures make them enjoyable for guests of all ages.
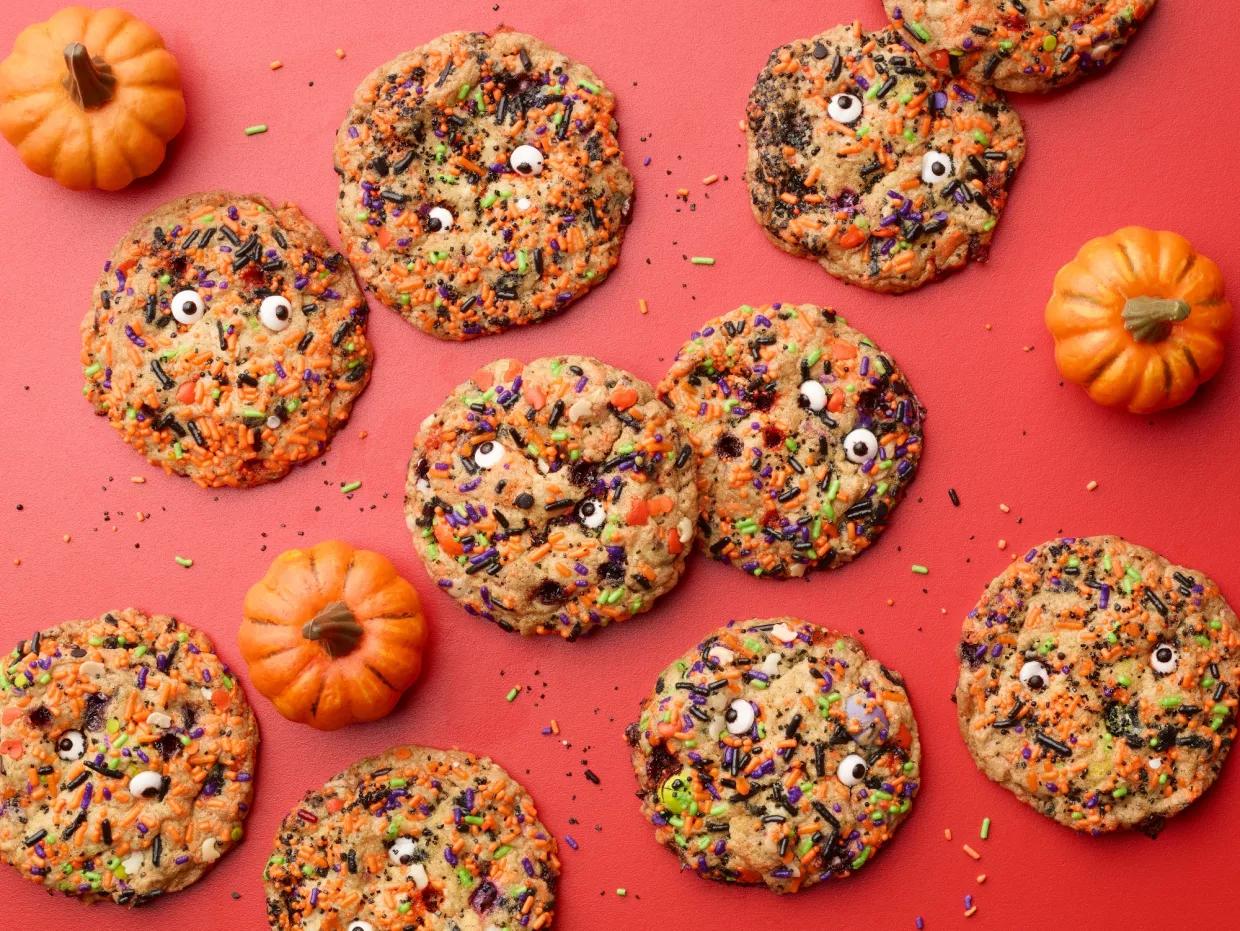
Monster Bites:
One of the best things about Monster Bites is how easy they are to customize. Depending on your preferred style, you can make them with chocolate cookies, marshmallows, pretzels, cereal treats, or small brownie bites. Add candy eyeballs, colorful icing, chocolate chips, or sprinkles to transform simple ingredients into little edible monsters. This recipe uses a delicious no-bake combination of chocolate sandwich cookies, cream cheese, and a chocolate coating to create bite-sized treats that are easy to prepare and decorate.
Whether you are hosting a spooky Halloween party or looking for a creative activity to enjoy with your family, Monster Bites are a fantastic choice. They require minimal baking equipment, can be prepared ahead of time, and offer plenty of opportunities for imaginative decoration. Follow this easy recipe to make adorable monster treats that look festive on a dessert table and taste wonderfully chocolatey.
History:
Monster-themed sweets are part of the broader tradition of Halloween treats inspired by ghosts, witches, vampires, and other imaginary creatures. As Halloween parties became more elaborate, home bakers and confectioners began creating desserts that looked as entertaining as they tasted.
Decorated cake pops, chocolate truffles, cookie balls, and candy-coated treats helped inspire modern bite-sized monster desserts. Their small size makes them convenient to serve at parties, while colorful coatings and candy decorations make them easy to transform into spooky characters.
Today, Monster Bites can refer to many different Halloween snacks, from chocolate cookie truffles with candy eyes to monster-mouth cookies and cereal-based treats. This recipe offers a simple chocolate cookie version that requires no oven baking and can be decorated in countless creative ways.
Subscribe to our youtube channel Kitchenpedia for more delicious recipes and hit the like button if you enjoyed this youtubevideo. Share it with your friends and Family.
Monster Bites

Ingredients
For the Monster Bites
- 24 chocolate sandwich cookies with filling
- 115 g cream cheese, softened
- 250 g chocolate melting wafers or candy melts
- 1 teaspoon coconut oil, optional, for thinning the coating
For the Decorations
- 40–48 candy eyeballs
- 2 tablespoons Halloween sprinkles
- 30 g white chocolate, optional
- A small amount of green, purple, or orange candy melts, optional
- Mini chocolate chips, optional
Instructions
- Place the chocolate sandwich cookies in a food processor and pulse until they become fine crumbs. If you do not have a food processor, place the cookies in a sealed food-safe bag and crush them with a rolling pin.Try to make the crumbs as even as possible. Smaller crumbs help create a smooth mixture that holds together easily.
- Transfer the cookie crumbs to a large bowl. Add the softened cream cheese and mix until the ingredients form a thick, uniform dough.You can use a spatula or clean hands to combine everything. The mixture should be moist enough to roll into balls without crumbling apart.
- Scoop out approximately one tablespoon of the mixture for each bite. Roll it between your palms to form small balls and place them on a parchment-lined tray.For a more playful appearance, make some bites slightly oval or irregularly shaped to resemble different monsters.
- Place the tray in the refrigerator for 30–45 minutes, or until the bites feel firm. Chilling helps them maintain their shape during dipping and makes the coating process easier.Do not skip this step, as soft cookie balls may fall apart when dipped into warm chocolate.
- Place the chocolate melting wafers in a microwave-safe bowl. Heat in 20–30-second intervals, stirring between each interval until smooth.If the chocolate is too thick for dipping, mix in a small amount of coconut oil. Avoid adding water, as it can cause the chocolate to seize.
- Dip each chilled cookie ball into the melted chocolate using a fork or dipping tool. Lift it out, allow excess chocolate to drip off, and place it back on the parchment-lined tray.Work with a few bites at a time so the coating stays smooth and the cookie balls remain chilled.
- While the coating is still wet, add candy eyeballs, sprinkles, and mini chocolate chips. You can give some monsters one large eye, others two eyes, and a few three eyes for variety.For additional color, drizzle green, purple, or orange candy melts over the coated bites. Let your imagination guide the decorations.
- Refrigerate the decorated bites for approximately 15–20 minutes, or until the chocolate coating has hardened.Once set, transfer them to a serving plate or Halloween-themed container. Keep the treats refrigerated until serving because they contain cream cheese.
Notes
-
Use fine cookie crumbs: Fine crumbs create a smooth texture and help the mixture hold together.
-
Soften the cream cheese: Room-temperature cream cheese mixes more easily with the crumbs.
-
Chill before dipping: Firm cookie balls are easier to coat without breaking.
-
Melt chocolate slowly: Short heating intervals reduce the risk of scorching.
-
Keep decorations ready: Candy eyes and sprinkles should be within reach before dipping.
-
Avoid excess coating: Let extra chocolate drip off to prevent thick, uneven layers.
-
Customize each monster: Different eye arrangements and colors make the bites more interesting.
-
Refrigerate after preparation: Cream cheese makes these treats perishable.
Tips for Monster Bites:
- Use a cookie scoop: It helps make evenly sized bites that look attractive on a platter.
- Keep your hands cool: If the mixture becomes sticky while rolling, refrigerate it briefly.
- Choose quality melting chocolate: A smooth coating improves both appearance and flavor.
- Use a fork for dipping: Tap it gently against the bowl to remove excess coating.
- Decorate immediately: Candy eyes adhere best before the chocolate begins to set.
- Create different monster faces: Try one-eyed creatures, colorful sprinkles, or chocolate-chip mouths.
- Make them ahead: Prepare the bites in advance and refrigerate them until your event.
- Serve in themed packaging: Black paper cups, Halloween liners, and spooky serving trays make them party-ready.
FAQs for Monster Bites:
1. What are Monster Bites?
Monster Bites are small, decorated Halloween treats made to resemble little monsters. They can be prepared using cookie truffles, brownies, marshmallows, or cereal treats. This recipe uses chocolate sandwich cookies and cream cheese for a rich no-bake dessert.
2. Do Monster Bites require baking?
No. This version is completely no-bake because the cookie crumbs and cream cheese form the base. The chocolate coating is simply melted and allowed to set.
3. Can I use a different type of cookie?
Yes. Chocolate sandwich cookies are ideal, but you can experiment with chocolate wafer cookies or other crisp cookies. Depending on the type of cookie, you may need to adjust the cream cheese slightly to achieve a mixture that rolls easily.
4. Why are my Monster Bites falling apart?
The mixture may be too dry, or the bites may not have chilled long enough. Make sure the crumbs are fine, the cream cheese is fully mixed in, and the shaped balls are firm before dipping.
5. Can I make Monster Bites without cream cheese?
Yes, but you will need a different binding ingredient. A suitable thick cookie spread may work, although the flavor and texture will change. Adjust the amount gradually until the mixture holds its shape.
6. How should I store Monster Bites?
Store them in an airtight container in the refrigerator because the recipe contains cream cheese. They are best enjoyed within about 4–5 days for freshness and quality.
7. Can I freeze Monster Bites?
Yes. Freeze the bites in a single layer until firm, then transfer them to a freezer-safe container with parchment between layers. For best quality, use within two months. Thaw them in the refrigerator before serving.
8. Can I make Monster Bites with children?
Yes. Children can help roll the mixture and decorate the bites with candy eyes and sprinkles. Adults should handle hot melted chocolate, and younger children should be supervised when using small decorations.
9. Can I use colored candy melts?
Absolutely. Green, purple, orange, and black coatings work especially well for Halloween. Follow the package instructions for melting, and use a little coconut oil only if needed to improve the consistency.
10. Are Monster Bites suitable for Halloween party favors?
Yes. Place fully set bites in individual food-safe paper cups or treat boxes. Since they contain cream cheese, keep them chilled until distribution and avoid leaving them at room temperature for extended periods.
Conclusion:
Monster Bites are a creative and delicious way to make Halloween celebrations extra special. Their chocolate cookie centers, smooth candy coating, and playful decorations create a sweet treat that looks fun and tastes irresistible. Best of all, the no-bake preparation makes them convenient for busy party planning and enjoyable family baking activities.
With a handful of simple ingredients, you can create a whole collection of unique little monsters. Experiment with different colors, candy eyes, sprinkles, and chocolate details to match your party theme. Prepare them ahead of time, keep them refrigerated, and serve them on a festive platter for an eye-catching dessert.
Try these easy Monster Bites for your next Halloween gathering and enjoy a batch of sweet, spooky treats that are as entertaining to decorate as they are to eat!