
 with sweetened condensed milk! This easy homemade caramel recipe features a beautiful golden-brown color, smooth texture, and irresistible milky caramel flavor. Learn the safe oven water-bath method, step-by-step cooking instructions, ingredient details, expert tips, storage guidance, nutritional estimates, and creative serving ideas. Perfect for drizzling over ice cream, spreading on toast, filling cookies, decorating cakes, and transforming everyday desserts into delicious homemade treats.)
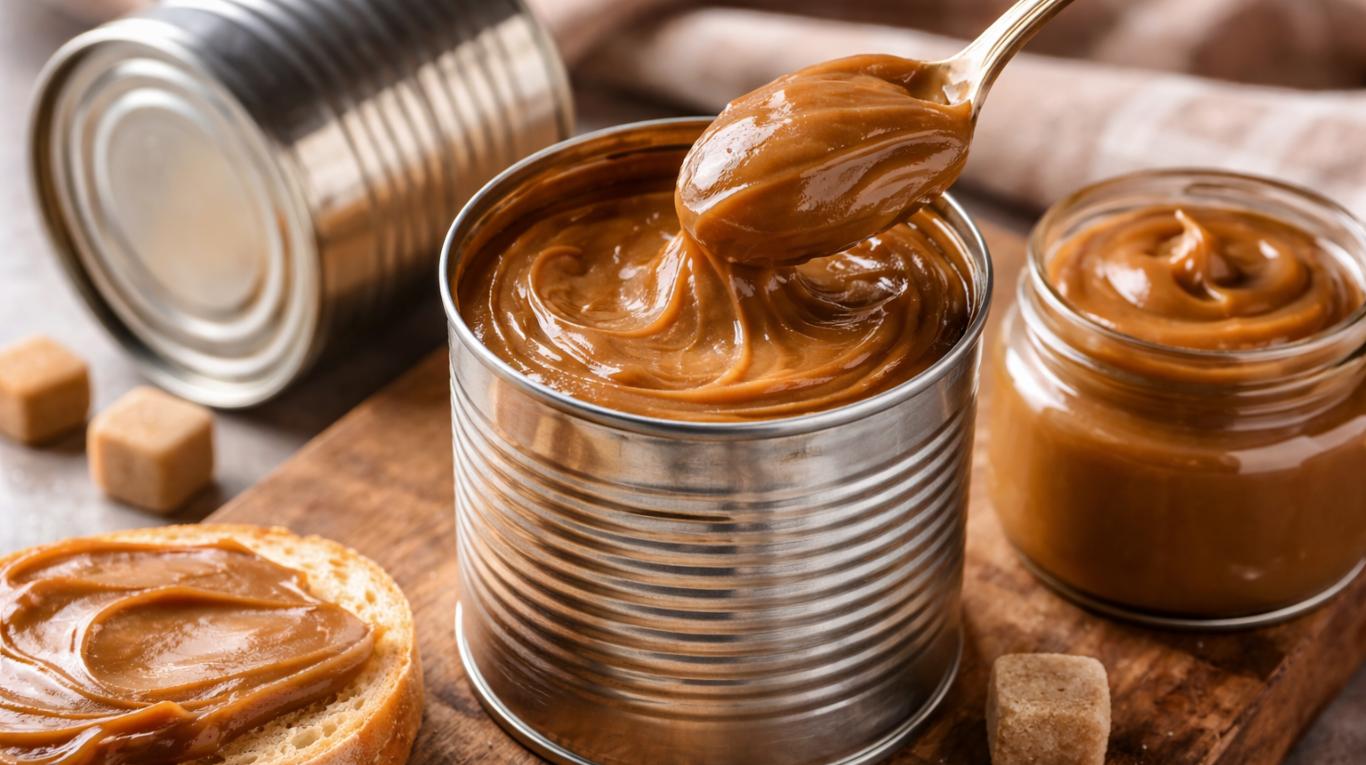
Caramel in a Can, also known as Dulce de Leche, is a deliciously rich, creamy, and golden-brown caramel treat made by slowly heating sweetened condensed milk until it transforms into a thick, smooth, and irresistible spread. With its deep caramel flavor and velvety texture, this simple recipe is perfect for anyone who loves homemade desserts but wants to avoid complicated ingredients and lengthy preparation.
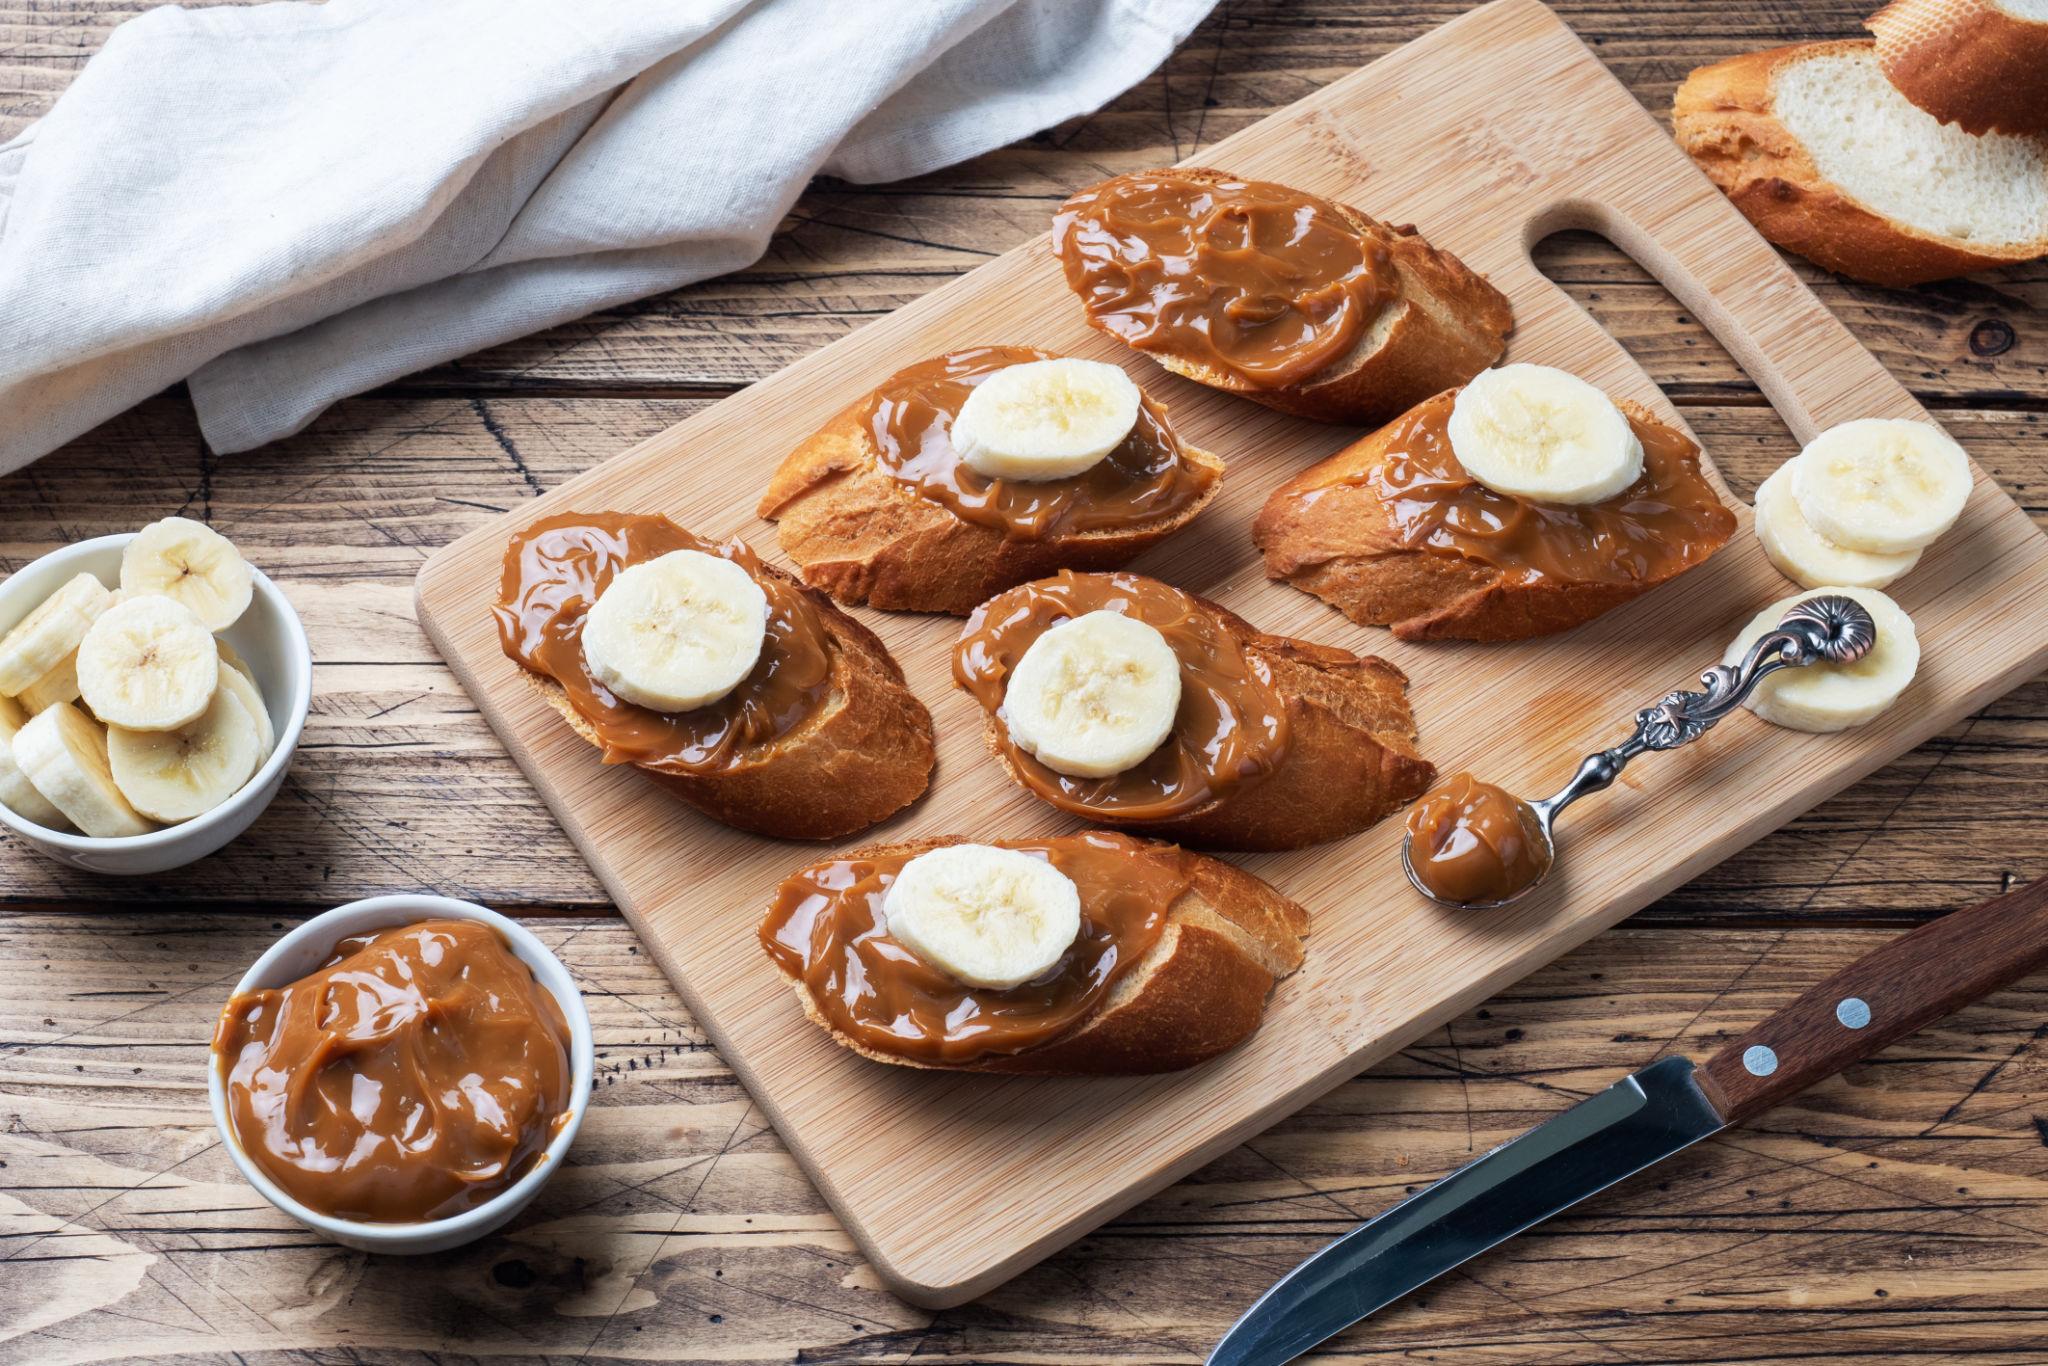
Caramel in a Can:
One of the best things about this recipe is its simplicity. Sweetened condensed milk develops a beautiful caramel color and a rich, almost toffee-like taste when cooked gently. The finished dulce de leche can be spread on toast, drizzled over ice cream, layered into cakes, or used as a filling for cookies, brownies, and pastries. Its versatility makes it a wonderful ingredient to keep on hand for special occasions and everyday sweet cravings.
Whether you’re preparing a dessert for family, hosting a celebration, or looking for an easy way to elevate your favorite treats, Caramel in a Can is a fantastic choice. With proper cooking techniques and careful handling, you can create a luxurious caramel spread at home with minimal effort. This guide covers the recipe’s background, ingredients, preparation steps, helpful tips, and serving ideas so you can enjoy delicious homemade dulce de leche.
History:
Dulce de leche, which translates from Spanish as “sweetness of milk,” is a traditional caramelized milk confection popular throughout Latin America. It is especially associated with Argentina and Uruguay, where it is enjoyed in cakes, pastries, cookies, and many other desserts. Similar milk-based sweets are also found in other parts of the world.Although its exact origins are debated, dulce de leche has become an important part of Latin American dessert traditions. Traditional versions are prepared by slowly cooking milk and sugar until the mixture thickens and develops a deep golden-brown color.The canned condensed milk method offers a convenient shortcut to a similar result. Sweetened condensed milk already contains concentrated milk and sugar, making it suitable for producing a rich caramel spread with less preparation. Today, dulce de leche is enjoyed internationally as a topping, filling, and dessert ingredient.
Subscribe to our youtube channel Kitchenpedia for more delicious recipes and hit the like button if you enjoyed this youtubevideo. Share it with your friends and Family.
Caramel in a Can (Dulce de Leche)

Ingredients
- 1 can (14 ounces or approximately 397 g) sweetened condensed milk: The main ingredient responsible for the rich, creamy texture and caramel flavor.
- Optional pinch of sea salt: Add after cooking if you prefer a salted caramel flavor.
- Optional ½ teaspoon vanilla extract: Stir into the cooled caramel for a subtle vanilla aroma.
- Do not heat an unopened can of condensed milk directly in boiling water, in a pressure cooker, or in the oven.
- A sealed can can build up dangerous pressure and rupture.
- The safer method below transfers the condensed milk into an oven-safe dish and cooks it in a water bath.
Instructions
- Collect one can of sweetened condensed milk, an oven-safe baking dish, aluminum foil, a deep roasting pan, a whisk, and hot water. Make sure the baking dish is clean and large enough to hold the condensed milk comfortably.
- Preheat your oven to 425°F (220°C). Place an oven rack in the middle position to encourage even cooking.
- Open the can and pour the sweetened condensed milk into a shallow oven-safe baking dish. Spread it evenly so the mixture heats at a consistent rate.
- Cover the baking dish tightly with aluminum foil. This helps prevent the surface from drying out while the condensed milk cooks.
- Place the covered baking dish inside a larger roasting pan. Carefully pour hot water into the roasting pan until it reaches approximately halfway up the sides of the smaller dish.The water bath helps distribute heat more gently and evenly, reducing the risk of scorching.
- Place the roasting pan in the preheated oven and bake for approximately 1½–2½ hours, checking periodically. Cooking time varies with the dish, oven, and desired color.Carefully replenish the water bath with hot water if the level drops significantly. Keep the condensed milk covered throughout cooking.
- Once the condensed milk has developed a rich golden-brown color, carefully remove the baking dish from the oven. Use oven mitts because the dish and water will be extremely hot.Remove the foil carefully, allowing steam to escape away from your face. Whisk the caramel until it becomes smooth and uniform. If the mixture needs a deeper color or thicker consistency, cover it again and continue baking, checking frequently.
- Allow the dulce de leche to cool before transferring it to a clean container. It will thicken further as it cools.Serve it with toast, pancakes, waffles, fruit, or your favorite desserts. Refrigerate leftovers promptly.
Notes
- Choose the correct milk: Use sweetened condensed milk, not evaporated milk. Evaporated milk does not contain the same amount of sugar and will not produce the same result.
- Avoid sealed-can cooking: Never heat an unopened can of condensed milk. Transfer the milk to an oven-safe dish before cooking.
- Use a water bath: The water helps maintain gentler, more even heating and supports a smooth texture.
- Check the color: A light golden color produces a milder caramel flavor, while a deeper amber color gives a richer, more pronounced taste.
- Whisk after cooking: Stirring thoroughly helps remove lumps and creates a silky consistency.
- Allow enough cooling time: Hot dulce de leche is thinner than cooled caramel. Judge its final consistency only after it has cooled.
- Use clean storage containers: Transfer the cooled caramel into a clean, airtight container to help maintain its quality.
- Refrigerate leftovers: Keep homemade dulce de leche refrigerated and follow conservative food-storage practices. Use within about 1–2 weeks, and discard it if you notice mold, an unusual odor, or other signs of spoilage.
Tips for Dulce de Leche:
- Use a shallow baking dish: A shallow dish allows the condensed milk to heat more evenly and makes it easier to monitor the color.
- Keep the foil secure: Covering the dish helps retain moisture and prevents a dry or crusty surface from forming.
- Monitor the water level: Check the roasting pan during baking and add hot water carefully when needed.
- Adjust the cooking time: Start checking the caramel after about 90 minutes. Continue cooking in short intervals until the desired color and consistency are reached.
- Add salt for balance: A small pinch of sea salt can balance the sweetness and create a delicious salted caramel variation.
- Flavor it after cooking: Stir vanilla extract into the caramel after it has cooled slightly for a more noticeable vanilla aroma.
- Thin it when necessary: If the caramel becomes too thick after refrigeration, warm a small portion gently and stir until spreadable. Avoid adding too much liquid.
- Prepare it ahead: Make the caramel in advance, refrigerate it in a suitable container, and use it when assembling desserts.
FAQs for Caramel in a Can:
1. What is Caramel in a Can?
Caramel in a Can usually refers to dulce de leche made by slowly heating sweetened condensed milk until it becomes thick, golden, and caramel-like. The name describes the convenient ingredient, although this recipe uses an oven-safe dish rather than heating a sealed can.
2. Is dulce de leche the same as caramel sauce?
Not exactly. Traditional caramel sauce is often made by caramelizing sugar and combining it with cream or butter. Dulce de leche is made by slowly cooking milk and sugar together, giving it a distinct creamy, milky flavor.
3. Can I make dulce de leche with evaporated milk?
Evaporated milk alone is not a direct substitute for sweetened condensed milk. It lacks the same concentration of sugar, so the result will be different. For this recipe, use sweetened condensed milk.
4. How do I know when the caramel is ready?
The caramel should have a rich golden-brown color and a thick, creamy consistency. It will become firmer as it cools, so avoid cooking it excessively if you want a spreadable texture.
5. Why is my dulce de leche lumpy?
Lumps can develop from uneven heating or insufficient stirring. Whisk the cooked caramel thoroughly while it is still warm. If necessary, use a heat-safe immersion blender after transferring it to a suitable container, taking care to avoid splashes.
6. Can I make dulce de leche without an oven?
Yes. You can prepare dulce de leche by gently simmering sweetened condensed milk in an uncovered heavy-bottomed saucepan, stirring frequently until it thickens and darkens. This method requires close attention to prevent scorching and can take a considerable amount of time.
7. How should I store homemade dulce de leche?
Cool it, transfer it to a clean airtight container, and refrigerate promptly. For this homemade preparation, aim to use it within 1–2 weeks and always check for signs of spoilage.
8. Can I freeze dulce de leche?
Dulce de leche can generally be frozen in a freezer-safe container. Leave a little room for expansion, thaw it in the refrigerator, and stir thoroughly before using. Its texture may change slightly after thawing.
9. Why is my caramel too thick?
It may have cooked longer than necessary or simply thickened during refrigeration. Warm a small portion gently and stir until it becomes spreadable. If needed, add a tiny amount of warm milk while mixing, then refrigerate any leftovers promptly.
10. Can I use dulce de leche for baking?
Absolutely! It is excellent for cake fillings, sandwich cookies, brownies, cheesecakes, tarts, and other desserts. Because it is sweet and thick, adjust the sugar and moisture in recipes when necessary.
Conclusion:
Caramel in a Can, or Dulce de Leche, is an easy and delicious way to bring homemade caramel flavor to your favorite desserts. With just one main ingredient, a little patience, and a safe cooking method, you can create a creamy, golden spread that tastes wonderfully rich and indulgent.From topping ice cream to filling cakes and cookies, this versatile caramel adds sweetness and a beautiful finish to countless treats. Remember to avoid heating sealed cans, monitor the water bath carefully, and refrigerate your finished caramel promptly.Try this simple recipe at home and enjoy the delicious taste of homemade dulce de leche whenever a caramel craving strikes!