

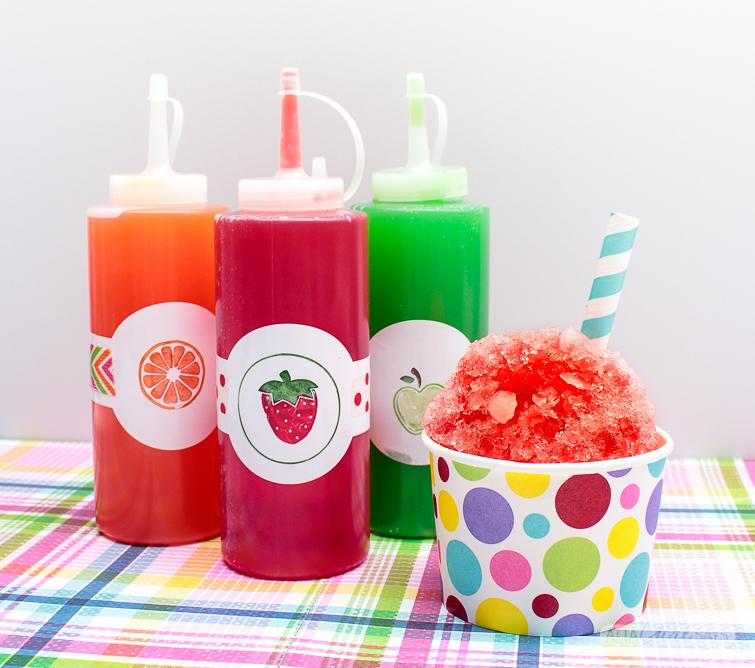
Nothing says summer quite like a refreshing Snow Cone topped with vibrant, sweet, and fruity syrup. Homemade Snow Cone Syrup is incredibly easy to make and tastes fresher than many store-bought versions. With just sugar, water, and your favorite flavoring, you can create colorful syrups that transform ordinary shaved ice into a cool and delicious treat.Making your own syrup gives you complete control over the sweetness, flavor intensity, and ingredients.
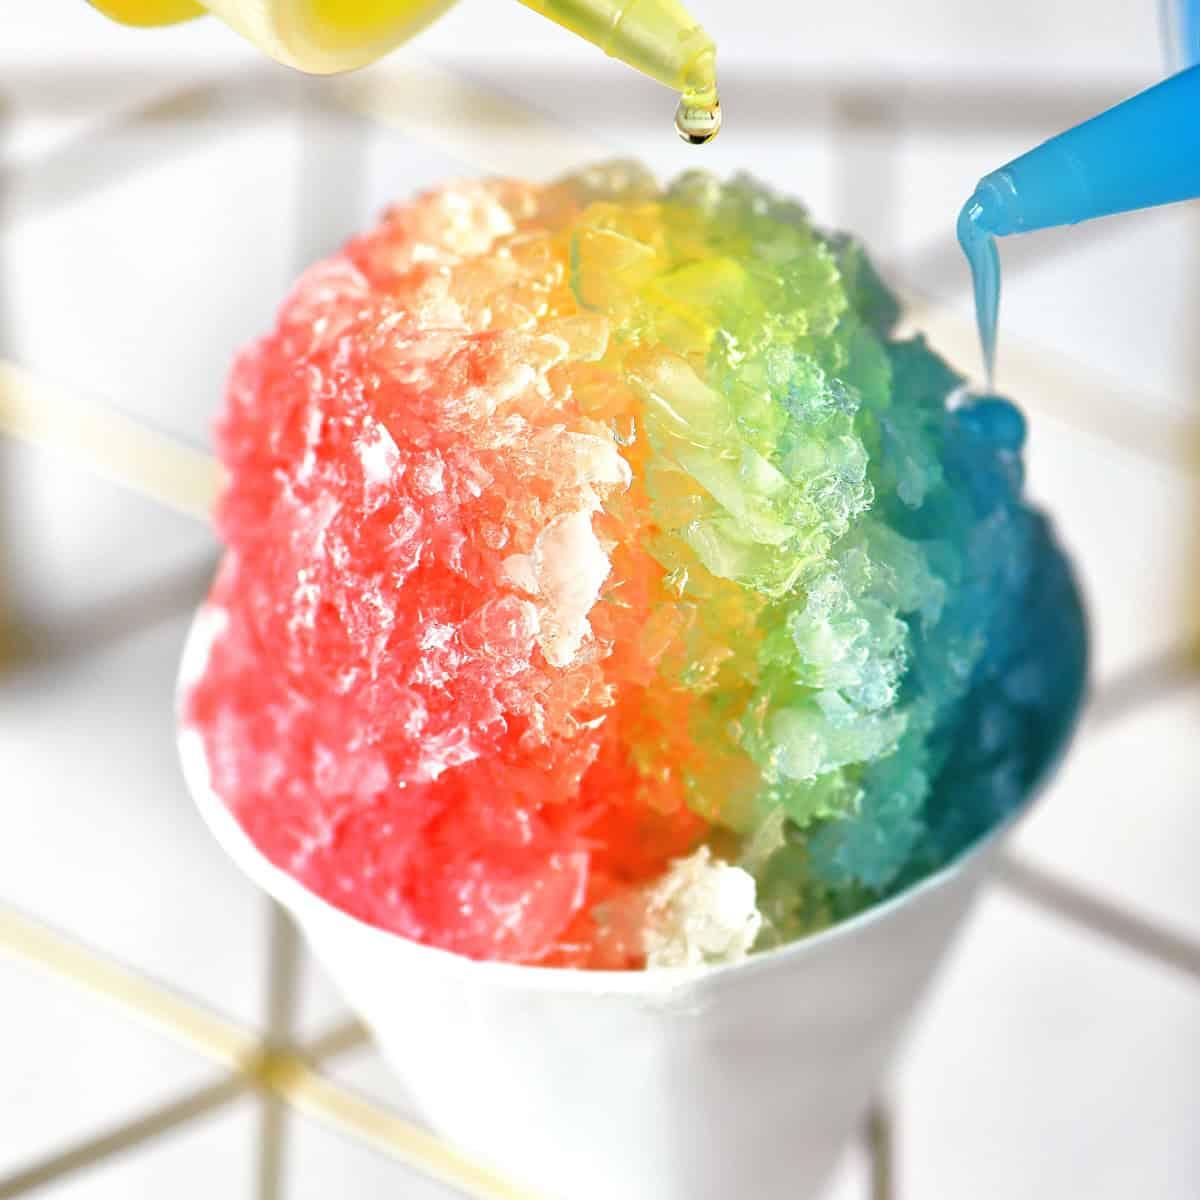
Snow Cone Syrup:
Whether you prefer classic cherry, blue raspberry, strawberry, lemon-lime, grape, watermelon, or tropical fruit flavors, this versatile recipe can be customized to suit every taste. You can even use natural fruit juices and food coloring alternatives for a more wholesome option.Perfect for summer parties, birthdays, backyard barbecues, family gatherings, or simply cooling off on a hot day, homemade Snow Cone Syrup is affordable, easy to prepare, and stores well for weeks. Once you try this homemade version, you’ll never want to go back to bottled syrups.
History:
Snow cones have been enjoyed for over a century and became especially popular in the United States during the early 1900s. Before refrigeration became common, vendors shaved blocks of ice by hand and flavored them with sweet fruit syrups to create an inexpensive, refreshing dessert.
As ice-shaving machines became widely available, snow cones grew into a summertime favorite at carnivals, fairs, amusement parks, and sporting events. Today, homemade syrups allow families to recreate this nostalgic treat with endless flavor combinations.
Subscribe to our youtube channel Kitchenpedia for more delicious recipes and hit the like button if you enjoyed this youtubevideo. Share it with your friends and Family.
Homemade Snow Cone Syrup Recipe – The Ultimate Guide to Vibrant, Flavorful Syrups for Perfect Shaved Ice Treats

Ingredients
Basic Syrup Base
- 2 cups granulated sugar
- 1 cup water
Flavoring (Choose One)
- 2 teaspoons cherry extract
- 2 teaspoons strawberry extract
- 2 teaspoons blue raspberry flavoring
- 2 teaspoons watermelon flavoring
- 2 teaspoons lemon extract
- 2 teaspoons grape flavoring
- 2 teaspoons coconut extract
- 2 teaspoons pineapple flavoring
- Or ¼ cup concentrated fruit juice
Instructions
- Combine the sugar and water in a medium saucepan.
- Heat over medium heat, stirring continuously until the sugar dissolves completely.
- Bring the mixture to a gentle simmer for 2–3 minutes.
- Remove the saucepan from the heat and allow the syrup to cool for about 10 minutes.
- Stir in your chosen flavoring, fruit juice, or extract.
- Add a few drops of food coloring if desired.
- Allow the syrup to cool completely.
- Transfer the syrup to clean squeeze bottles or glass jars.
- Pour generously over freshly shaved ice and enjoy immediately.
Notes
- Use high-quality extracts for the best flavor.
- Let the syrup cool completely before bottling.
- Store in sterilized bottles for longer freshness.
- Shake well before each use.
- Add citric acid for a classic tangy snow cone flavor.
- Natural fruit juice creates a fresher taste.
- Label each bottle with the flavor and date.
- Refrigerate after opening.
Tips for Snow Cone Syrup:
- Use finely shaved ice for the best texture.
- Chill the syrup before serving for extra-refreshing snow cones.
- Mix two or more flavors to create unique combinations.
- Add fresh fruit pieces as a topping.
- Drizzle sweetened condensed milk over tropical flavors for a creamy twist.
- Freeze leftover syrup into popsicle molds.
- Use squeeze bottles for easy, mess-free serving.
- Experiment with herbal flavors like mint or lavender for gourmet variations.
FAQs for Snow Cone Syrup:
1. How long does homemade Snow Cone Syrup last?
Stored in an airtight container in the refrigerator, it lasts up to 1 month.
2. Can I use fresh fruit instead of extracts?
Yes. Strain fresh fruit purée or use concentrated fruit juice for natural flavor.
3. Do I need food coloring?
No. Food coloring is optional and only adds visual appeal.
4. Can I make sugar-free Snow Cone Syrup?
Yes. Replace the sugar with a heat-stable sugar substitute designed for syrups.
5. Can I freeze the syrup?
Yes. Freeze it in airtight containers for up to 3 months.
6. Why is my syrup crystallizing?
This usually happens if the sugar wasn’t fully dissolved or if the syrup was overcooked.
7. What flavors are most popular?
Cherry, blue raspberry, strawberry, grape, lemon-lime, watermelon, pineapple, and tiger’s blood are among the favorites.
8. Can I use this syrup for other desserts?
Absolutely! It’s delicious over shaved ice, pancakes, waffles, ice cream, yogurt, Italian sodas, lemonades, mocktails, and cocktails.
Conclusion:
Homemade Snow Cone Syrup is an easy and delicious way to bring the excitement of summer fairs and amusement parks to your own home. With endless flavor possibilities, vibrant colors, and a simple preparation process, this versatile syrup is perfect for snow cones, shaved ice, frozen desserts, and refreshing drinks. Keep several flavors on hand and create your own colorful combinations for family gatherings, birthday parties, or anytime you need a cool, sweet treat.